Ingredients
Chicken
- 3 lbs Chicken Wings - any combo of tips, flats, and drumettes
- 1 tablespoon Baking Powder
- 1 tablespoon Corn Starch
- 1 tablespoon Kosher Salt
Buffalove Sauce
- 6 tablespoons unsalted butter
- 6 tablespoons Frank’s hot sauce
- 1 garlic cloves, minced (about 1 teaspoons)
Baked Buffalove Wings 🍗
Instructions
- Pat the wings dry
Coat The Wings 🧥
- In a large bowl, toss the baking powder, corn starch and kosher salt together. Add the wings and toss until evenly coated. Spread the wings in an even layer on a rack sitting inside a foil-lined baking sheet. The foil is just to help make clean up easier.
Let The Wings Rest 😴
🔬Resting the wings helps us in a couple of ways: first, it dries the chicken out, which is a must-have-always-do when chasing dat crispy skin. Second, it gives the baking powder time to soak up some of the protein-laden chicken juices which will help with the final texture of our wingz. How? It all starts with Baking Powder Basics (a class I one hundo percent sign up for). Baking powder is a rising agent that, when mixed with a liquid, releases carbon dioxide bubbles. When those bubbles expand in cake batter, you get lighter, airy, more fluffy cakes. When they expand in muffins, you get lighter, less dense, actually enjoyable muffins! And in the case of our chicken, those bubbles (which are infused with the juices from the chicken) are naturally hardened by the heat of the oven - creating a crackly, crunchy, scrum diddly umptious bubbled skin 😋
- Put the wings in the fridge for anywhere from 1 minutes to 24 hours and then take the wings out and let them come up to room temperature an hour before baking
OR
- Immediately let the wings sit out and come up to room temperature before baking.
🛣 The better of these two methods is definitely the former; air drying the wings overnight in the fridge. But, if you don’t have all that time, or you’re just very hungry, you can shorten the wait and just let the wings rest for an hour at room temp before baking.
Bake the Wings 🔥
- Adjust oven rack to upper-middle position and preheat oven to 450°F (230°C). Add chicken wings and cook for 20 minutes. Flip wings and continue to cook until crisp and golden brown, 15 to 30 minutes longer, flipping a few more times towards the end.
Make the Sauce 🥣
- In a large bowl, stir together the hot sauce, butter, and garlic. Season to taste with salt and pepper - but keep in mind the salt you’ve already added to the chicken!
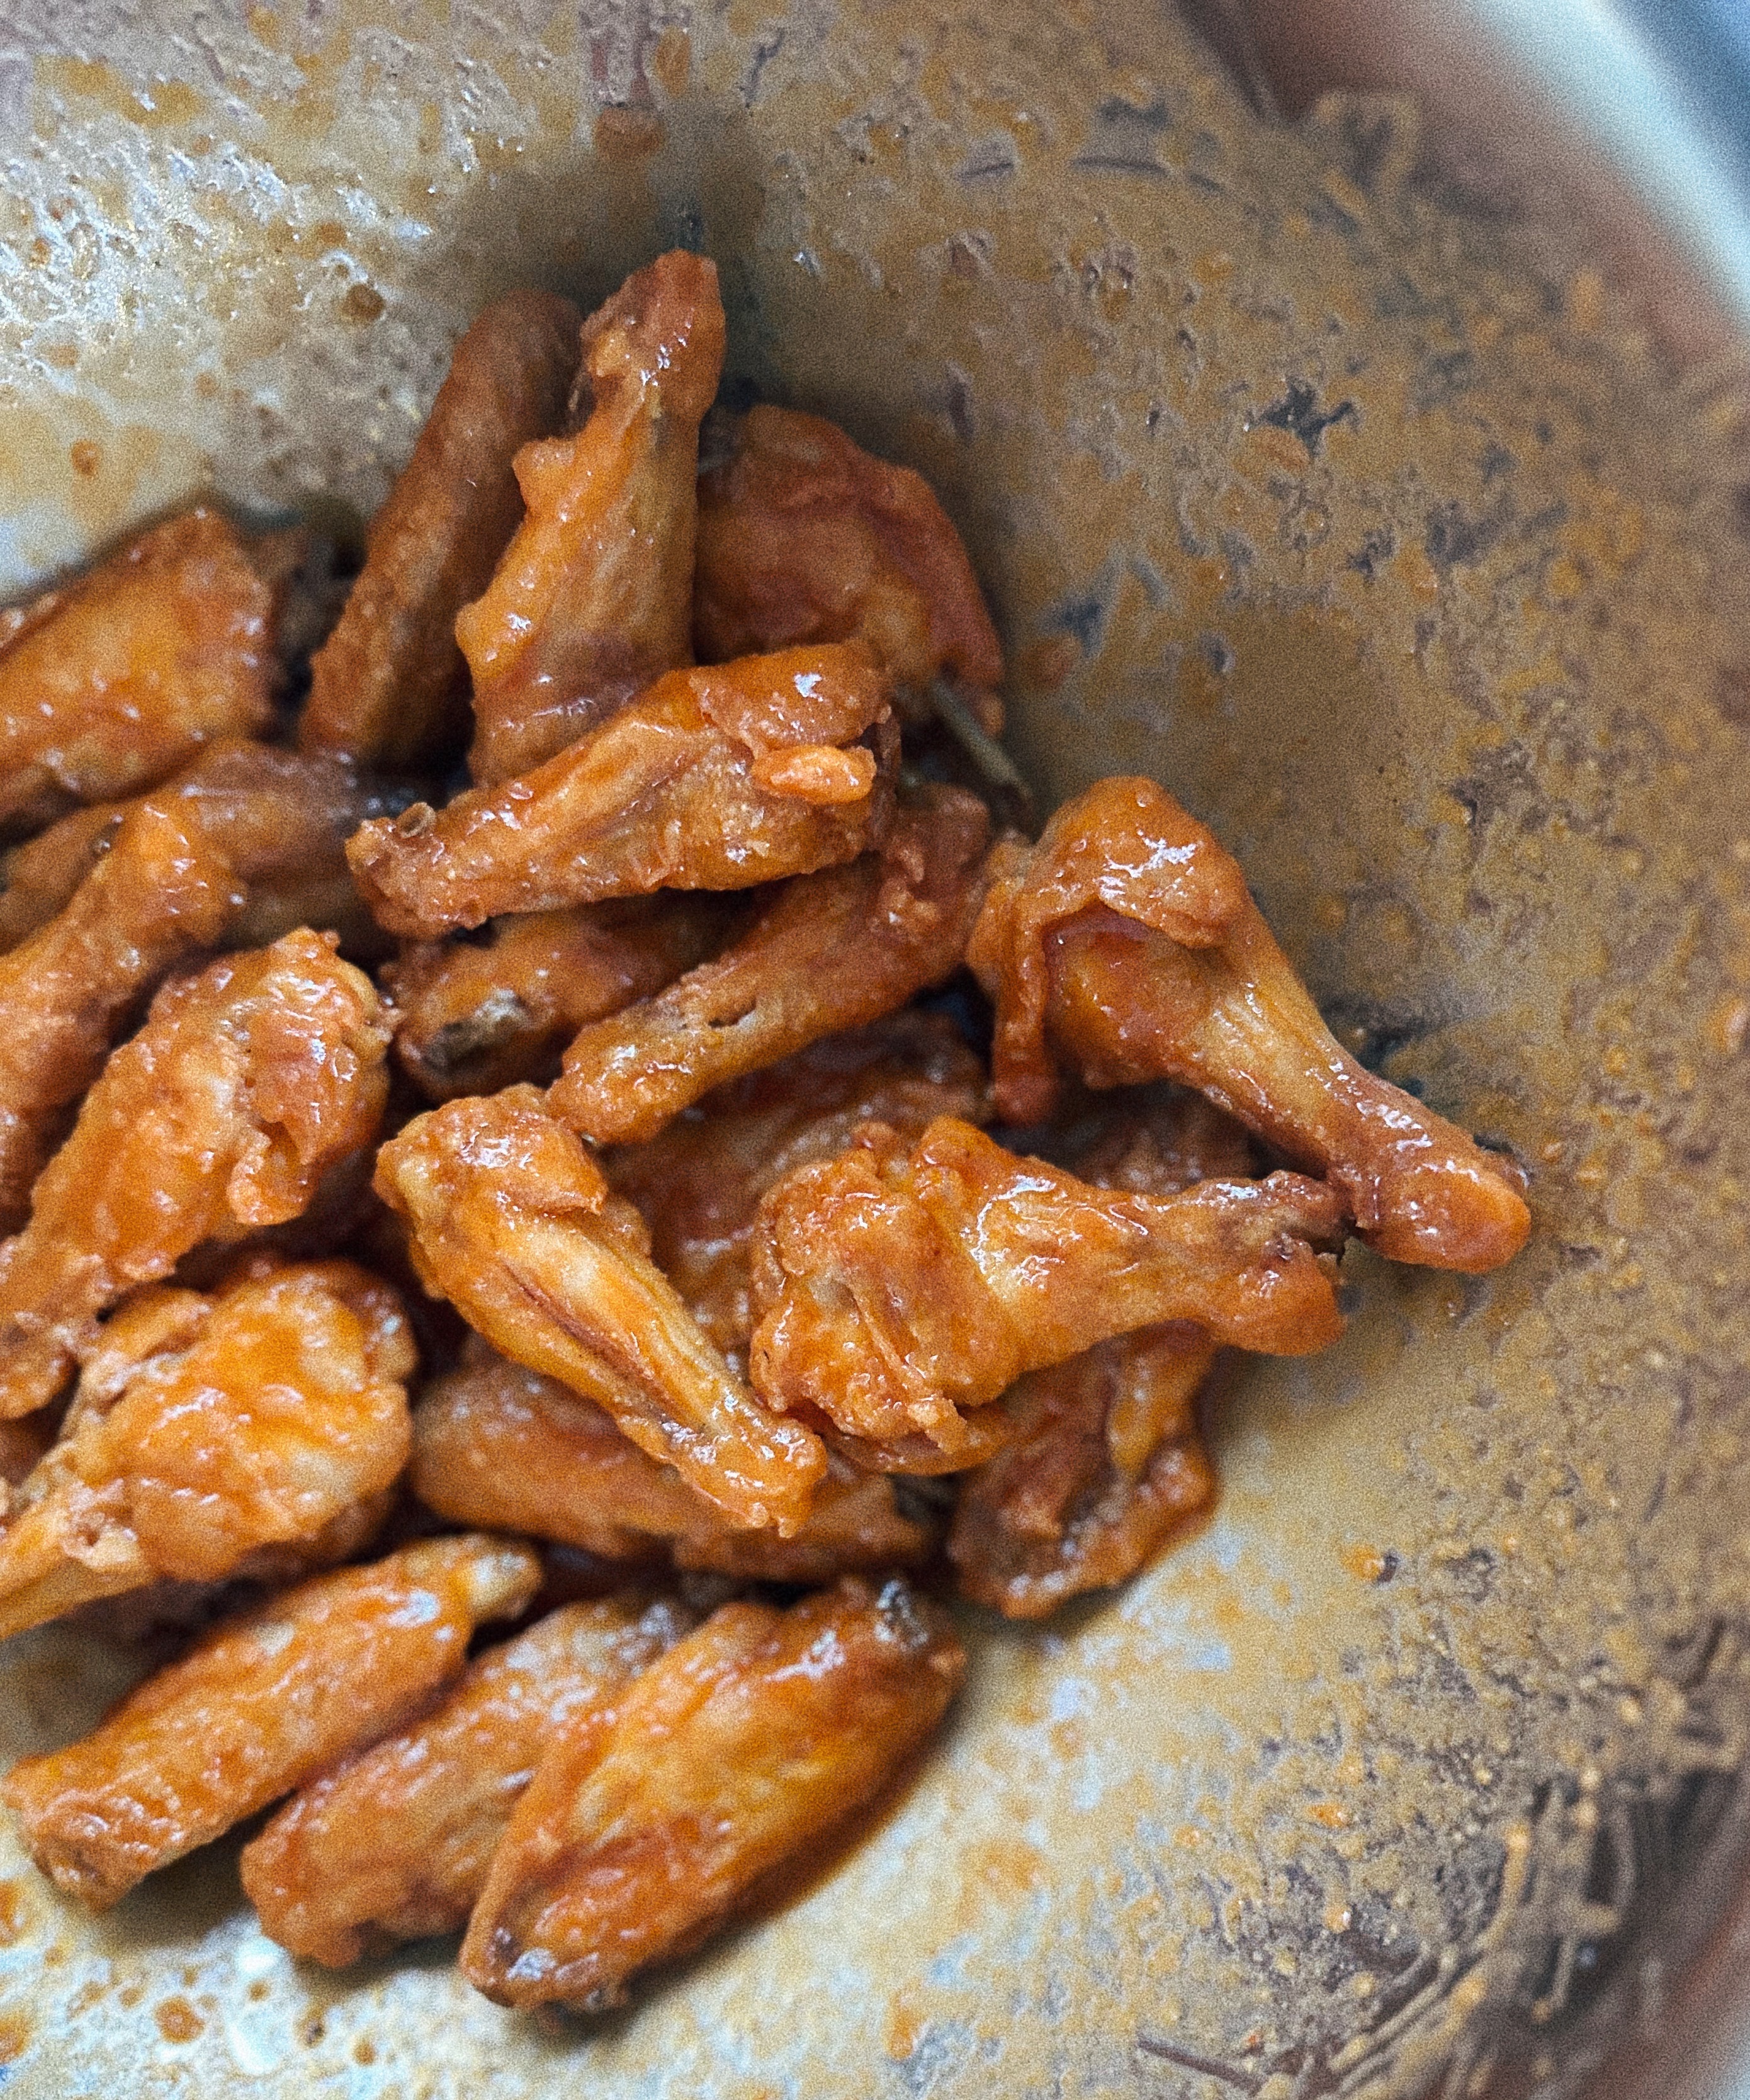
Toss & Coat 💪🏻
- Transfer the wings to the hot sauce-mixture and toss to coat.
✨ There are three sections to a chicken wing: the tip, the flat and the drummette. You can use any combo you’d like (i.e. all flats or all drumeettes). I typically toss the tip as it’s mostly skin and bone with very little meat, but if that’s your jimmy jam them jam on!
🔪 If the wings are not yet broken down into their three pieces, cut each wing at the two joints. To do so, flip the wing over and wiggle each part to find the joint. Cut at the joint hinge to separate the thicc drumette from the flat, and the flat from the smaller wing tip
⚖️ to make scaling easier, remember 1 tablespoon = 3 teaspoons, in other words, for every pound of wings, you need 1 teaspoon of baking powder, corn starch, and kosher salt.
✨ The garlic is what makes this Buffalo Sauce a BuffaLOVE sauce so don’t be shy with the amount of garlic ! Purists be warned, the garlic makes the wings less buffalo-y so leave it out if you wanna go traditional, but I pinky promise it’s worth it
⚖️ quick scaling math for ya: for every pound of wings, you’ll need 2 tablespoons butter, 2 tablespoons hot sauce & 1 garlic clove